Mileage: 76,213
Maintenance Summary:
- Removed fairing
- Rebuilt forks
- Installed new progressive springs
- Upgraded alternator and diode board
- Replaced front engine seal
- Installed new ground cable
- Installed headlight bucket and new headlight
- Installed new horns
- Installed National Cycle Windshield
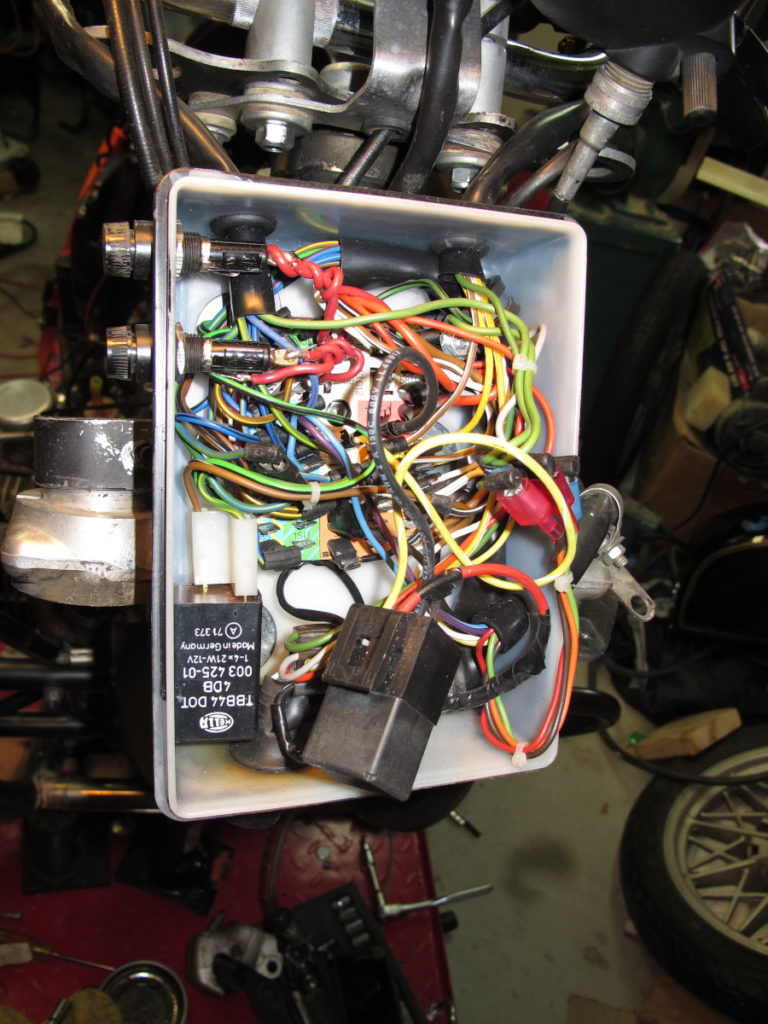
I’ve been collecting bits and pieces ever since I bought the bike with the intention of removing the fairing and returning the bike to the way it was when it was new. When the fairing was installed, the headlight bucket was removed, along with the bucket ears, turn signals and turn signal wiring. All of the remaining wiring that was originally in the headlight bucket was moved to a Tupperware box hidden behind the fairing and mounted to the forks.
The electrical system was always weak on this bike so as part of the transformation I wanted to improve the charging and starting performance. To that end I upgraded the alternator and diode board and installed a new battery ground cable. The horns were in bad shape as well, one was cracked and weak, and the other didn’t work so those both were replaced with new horns that are very loud.
With the fairing the bike would dive when braking and would sometimes be a bit sticky, as in not fully returning after coming to a stop. So a complete fork rebuild was also part of this upgrade. I put new progressive springs in figuring that would be an upgrade, but it turns out the bike already had progressive springs. I swapped them out anyway.
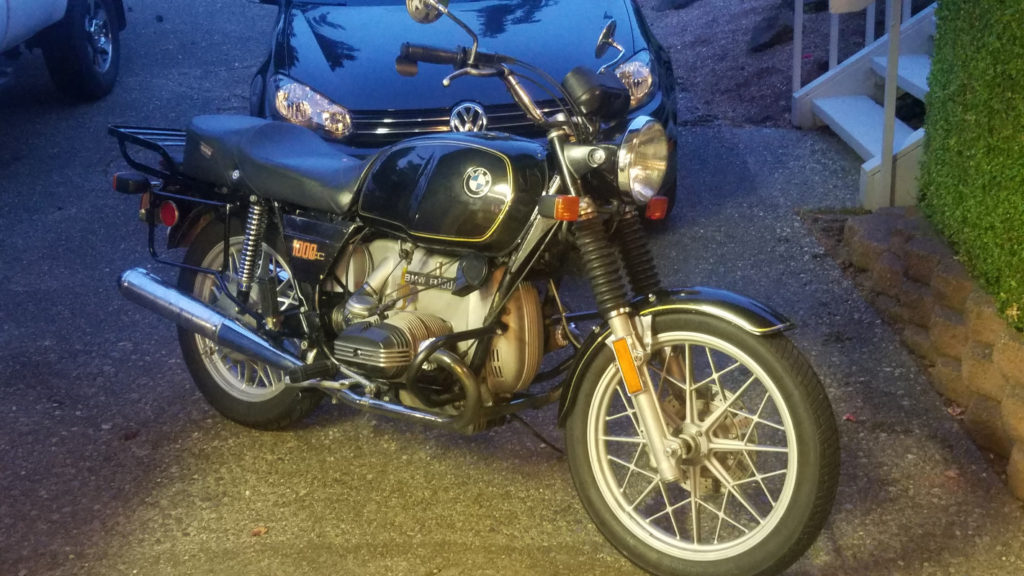
Here’s the transformed bike after its first short ride. What a difference! It’s like a new bike and loads more fun. The fairing added a lot of weight and just made the bike seem big. The short ride did show the need for some wind protection at freeway speeds, so I’ve installed a small National Cycle windshield (not shown here).
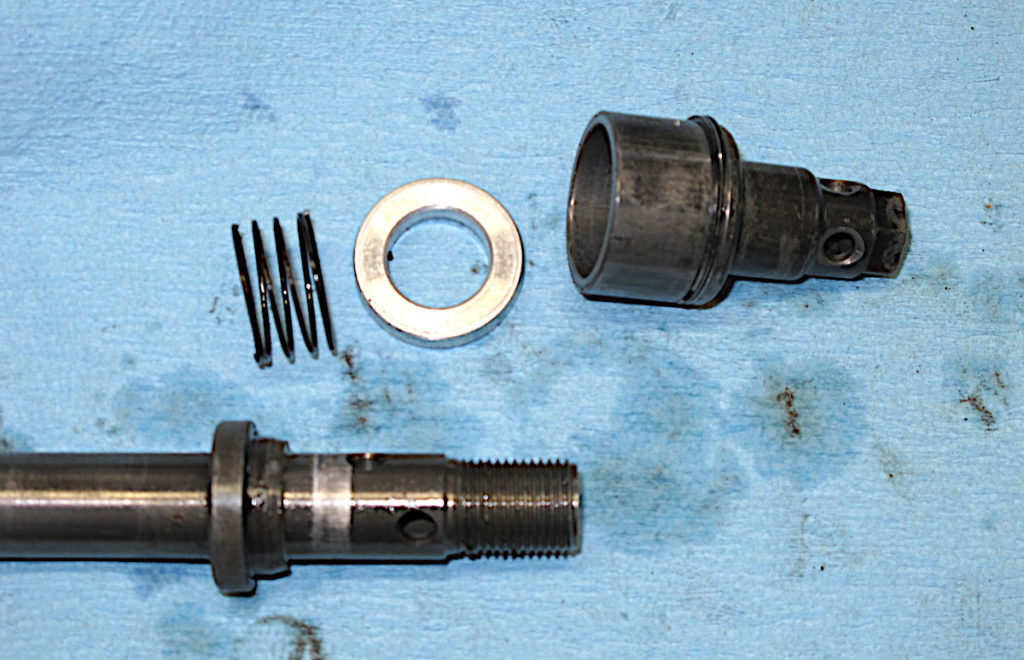
Fork Rebuild: The forks definitely needed rebuilding. There bumpers had dissolved, the oil was very dirty, and the crud had accumulated around the ball-valve spring to the point where I doubt it was working.

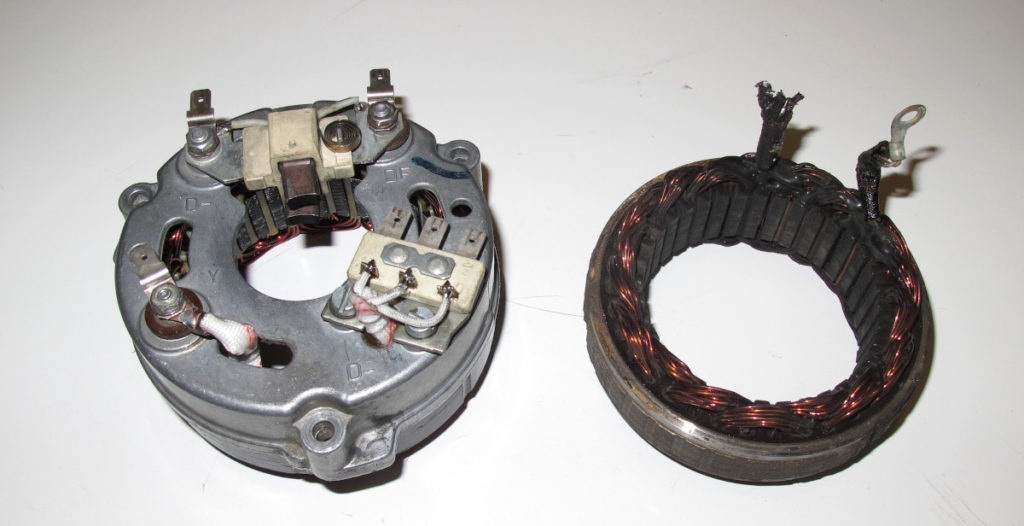
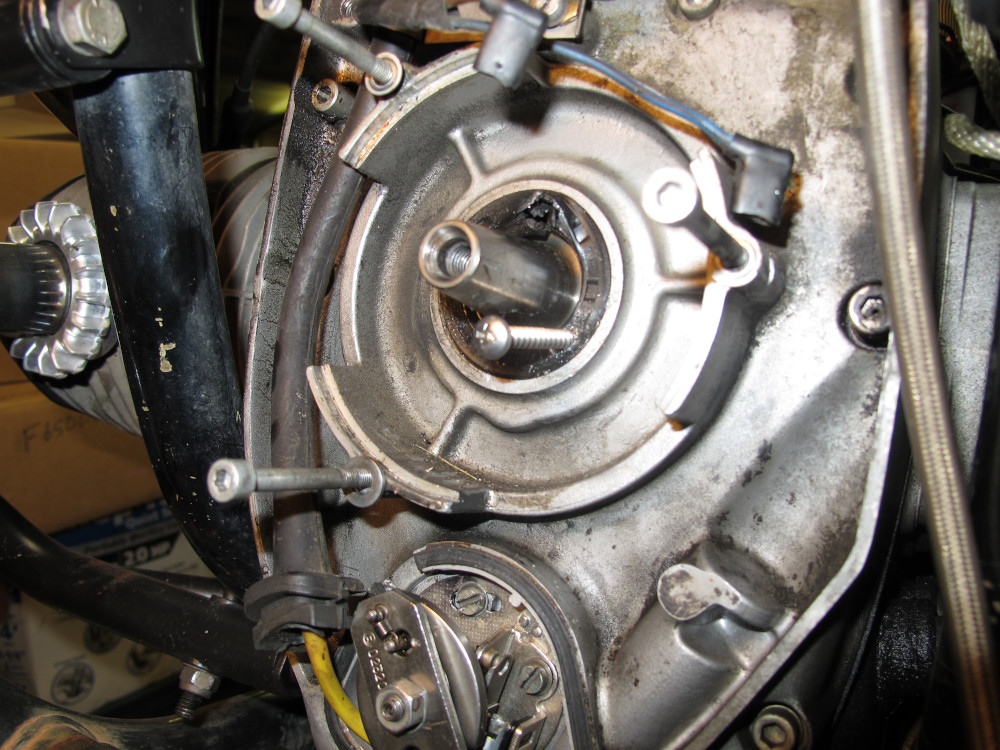
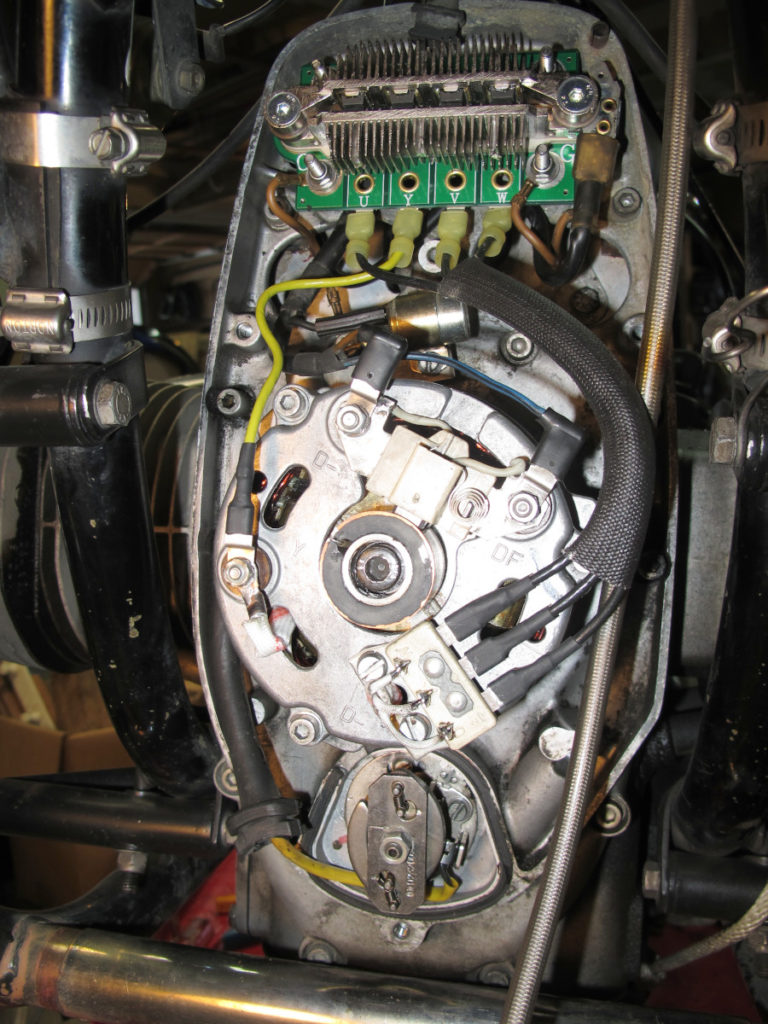
Alternator Upgrade: The alternator stator, rotor and diode board were replace with new Enduralast components. While I generally like to keep things original, and I did keep the old parts, these aren’t parts that are visible and the new diode board is a definite improvement. I tried to use the new voltage regulator that came with the upgrade kit, but it was flaky, so I reinstalled the original voltage regulator.
The upgrade kit includes a new stator which is installed in the original alternator housing. This is a fairly easy install, but does involve a little bit of soldering.
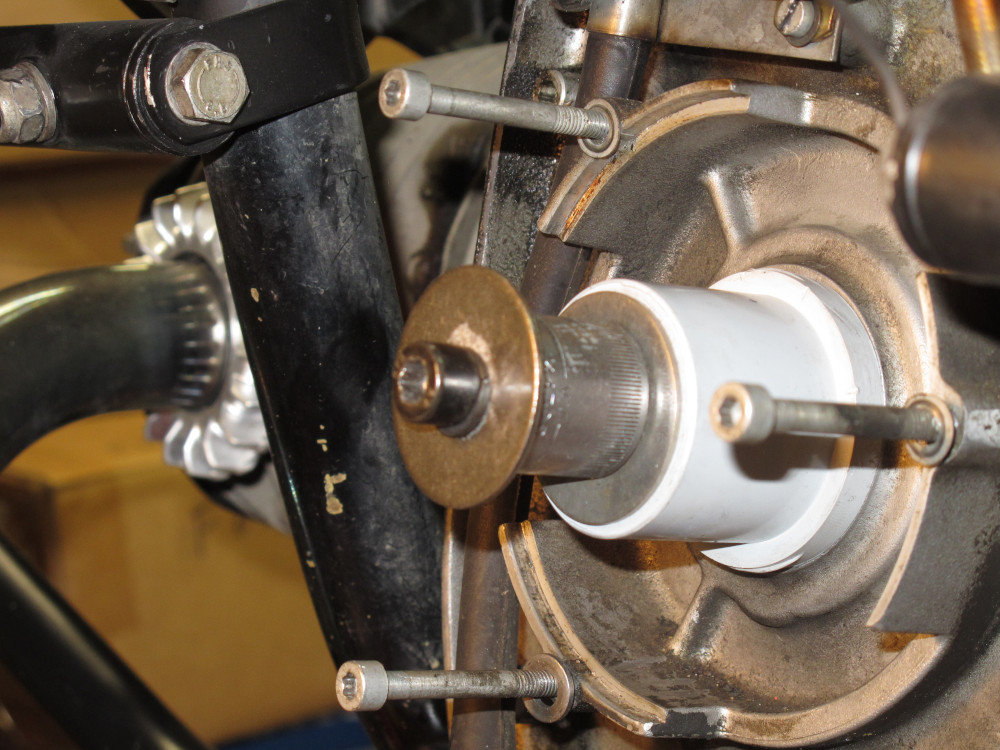
New Front Seal: While I had the rotor out, it seemed like a good time to replace the front engine seal.

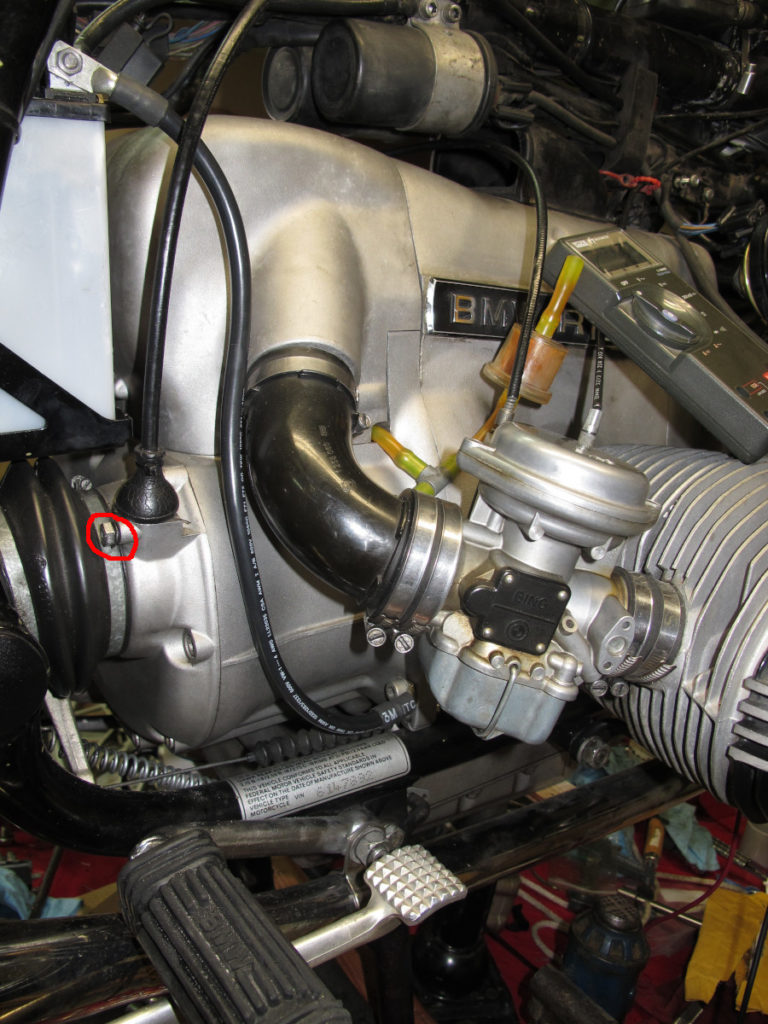
New Ground Cable: I suspect that the ground cable was a major contributor to poor electrical performance. The original cable, in a addition to being old, was attached to the bolt that retains the speedometer cable. This bolt is prone to stripping, and this bike is no exception, so the ground cable couldn’t be tightened to any great degree. I’m lucky to live near a marine hardware store so I can buy high-quality tinned connectors cable by the foot. I made a larger, longer cable to attach to one of the lower bolts on the engine case. While not original, you’d never know it as it looks correct.
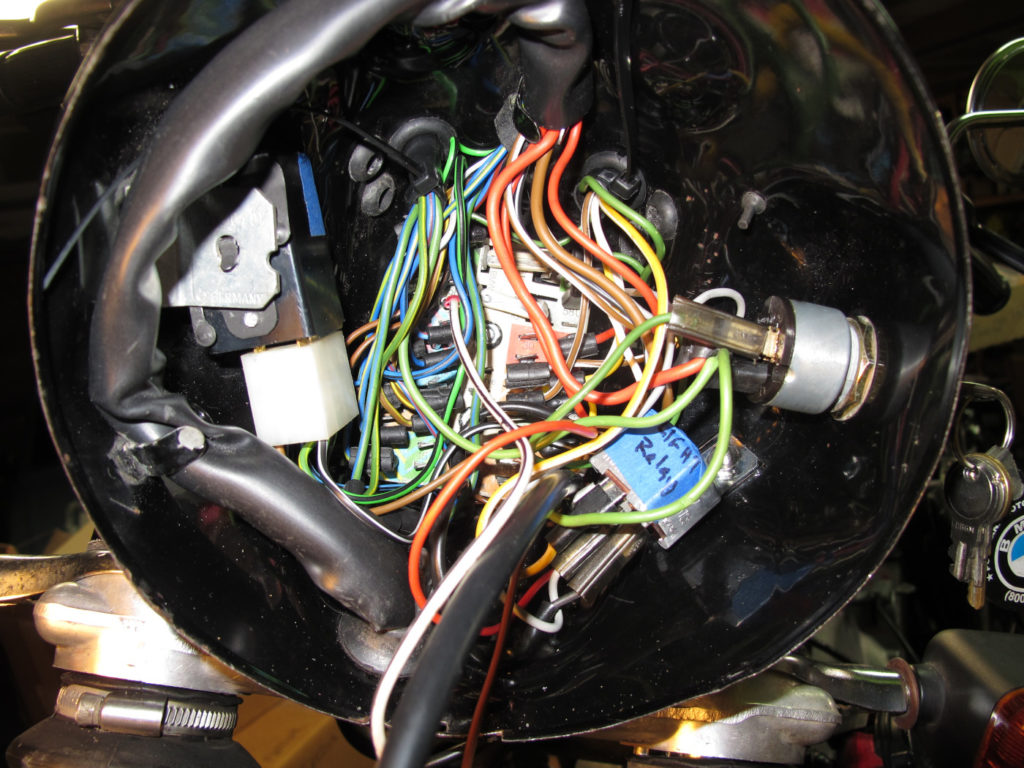
Installed headlight bucket, ears, turn signals and wiring: I found two used headlight buckets, one with a gloss black finish, and another with a mat finish. I’m not sure what the bike came with originally, but the gloss finished bucket was in better shape, so that’s the one I used. The first problem I had to deal with was the old wiring. Mounted to the forks, behind the fairing in a Tupperware box that was painted black is the wiring. Most of this wiring had to be disconnected and moved to the headlight bucket. Some of the wiring was specific to the fairing and needed to be discarded. The ignition switch had to be removed from the fairing and installed in the headlight bucket as well. I had to order wiring harnesses for both the left and right front turn signals.
There are a lot of wires, but the color coded circuit board actually made this process a lot easier than it looks.