Today’s task was to finish the battery tray restoration and install it back in the bike. The restoration involved removing the rust, repainting, and restoring the rubber. The tray was painted with one coat of Rustoleum, and then three coats of black lacquer with a bit of light sanding between coats. If this doesn’t hold, I’ll pull it out and have it powder coated.
The aluminum hold-down bracket looks hand made. It certainly isn’t original.

You can still buy the rubber mounts, they cost about $13 each. I chose to restore them instead by soaking them overnight in a mixture of rubbing alcohol and wintergreen oil. They swelled up a bit, but after setting for a while they returned to their normal shape. The rubber feels normal now, not so hard, and the battery tray now moves a bit allowing it to soak up shocks and vibration.
There are five rubber mounts. The rubber mount holding the buzzer and relay bracket shown in the picture below is different from the other four. It has one long stud which was installed on the bracket side when I pulled the battery tray from the bike. As you can see, even with the bracket mounted, there’s quite a bit of thread left over. In the fiche at MaxBMW, they list the mount’s part number as 61211233028 up to 09/77 and part 61211243530 post 09/77. The picture of the earlier part looks like the four mounts with the short studs, and the later the mount with the one longer stud. As this bike was built right about that time period, perhaps they were just grabbing whatever was left in the bin. Or, perhaps they were using two different parts until 9/77 and decided to simplify their BOM.
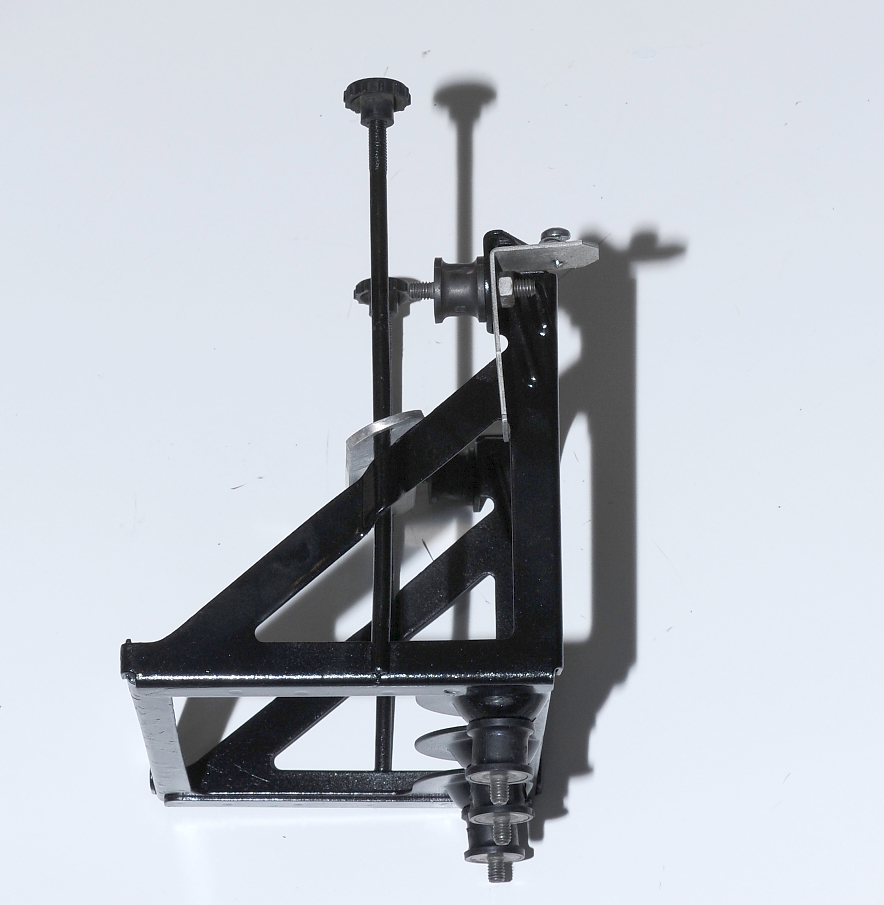 I’ll be keeping an eye on the buzzer bracket. It wasn’t corroded, but if I start to see any corrosion, I’ll probably zinc-plate it.
Installation Note: If the swing arm is installed it’s easier to install the three lower rubber mounts in the frame before installing the battery tray. This method makes it easy to spin the rubber mounts from the top to get the nut started. There’s just enough room between the swing arm and the frame to get a nut positioned with your fingers, but not to turn it. Once started, you can use an open-end wrench to tighten the nuts.