If you’re interested in how this clutch works, visit my tutorial Airhead Clutches Explained .
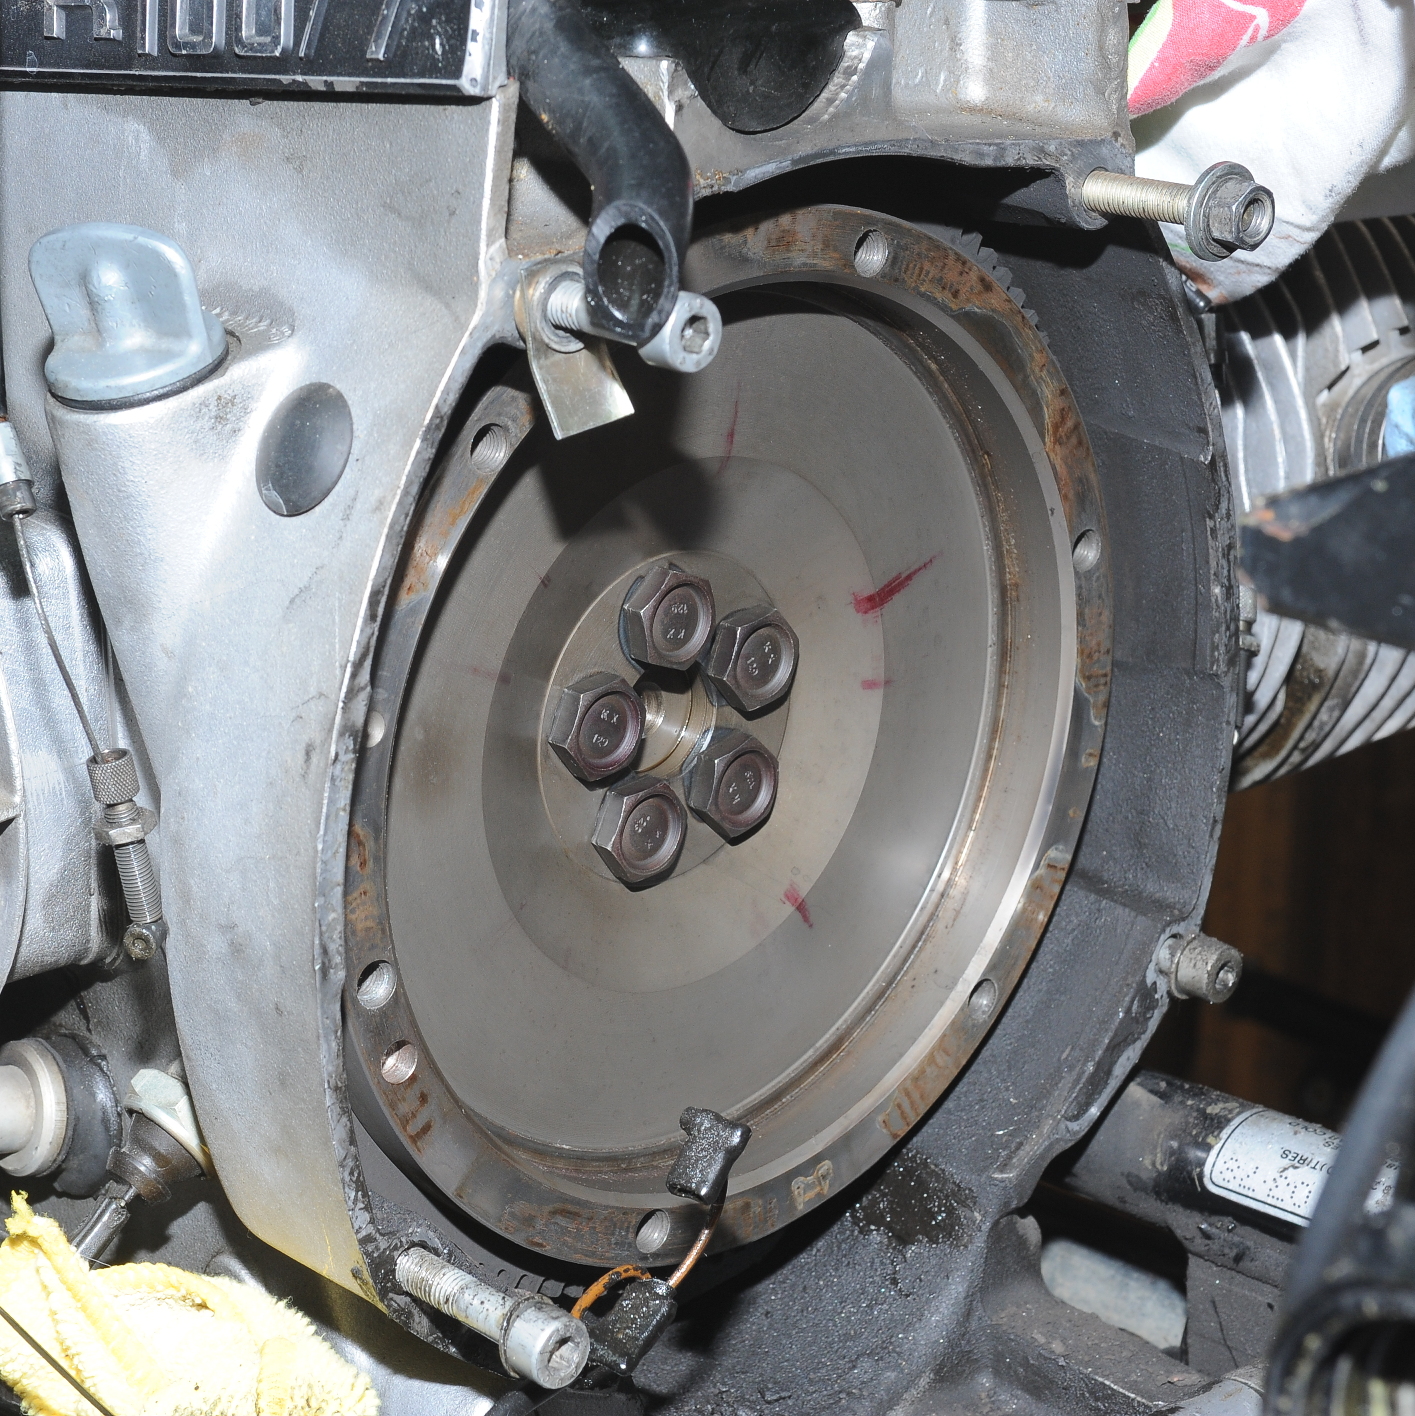
To remove the clutch I needed three long 8mm fine-thread bolts, nuts, and washers so that I could release the pressure without damaging anything. After a quick trip to Ace Hardware I was in business. I replaced three of the original bolts with the longer bolts with the nut and washer set to approximate the length of the original bolts. I then removed the remaining original bolts, and evenly backed off the nuts, while keeping the bolt from turning, until there wasn’t any more pressure from the spring.
Except for being worn to within 0.1-0.2 mm of the minimums, the clutch components look really good. There are no signs of overheating or any other evidence of abuse. I measured the friction plate thickness at 4.6mm (new thickness is 6mm). Wear limits are 4.4 or 4.5mm depending on where you look.
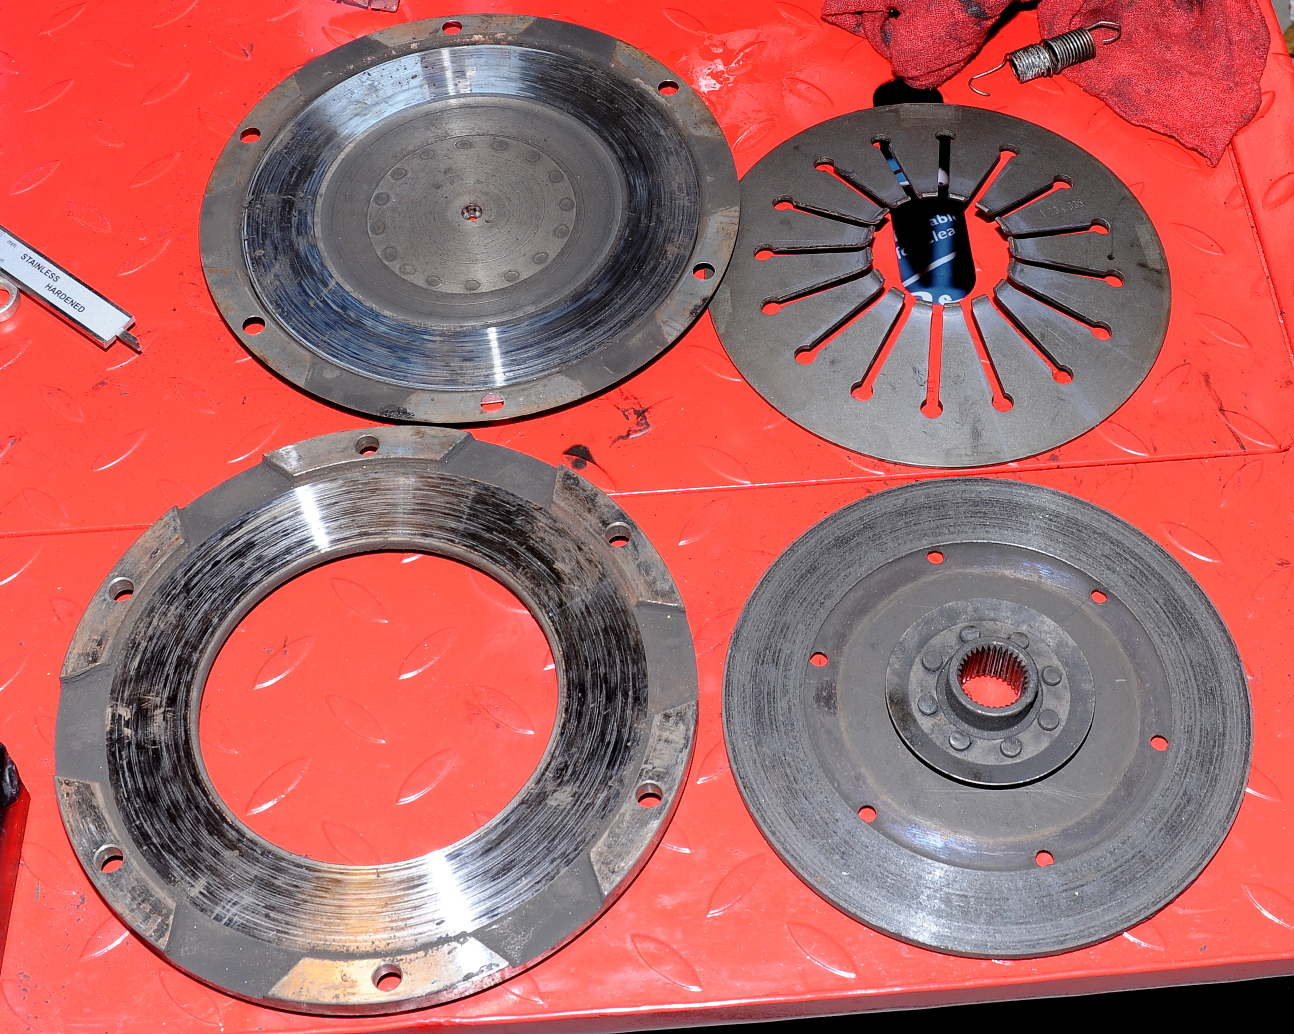
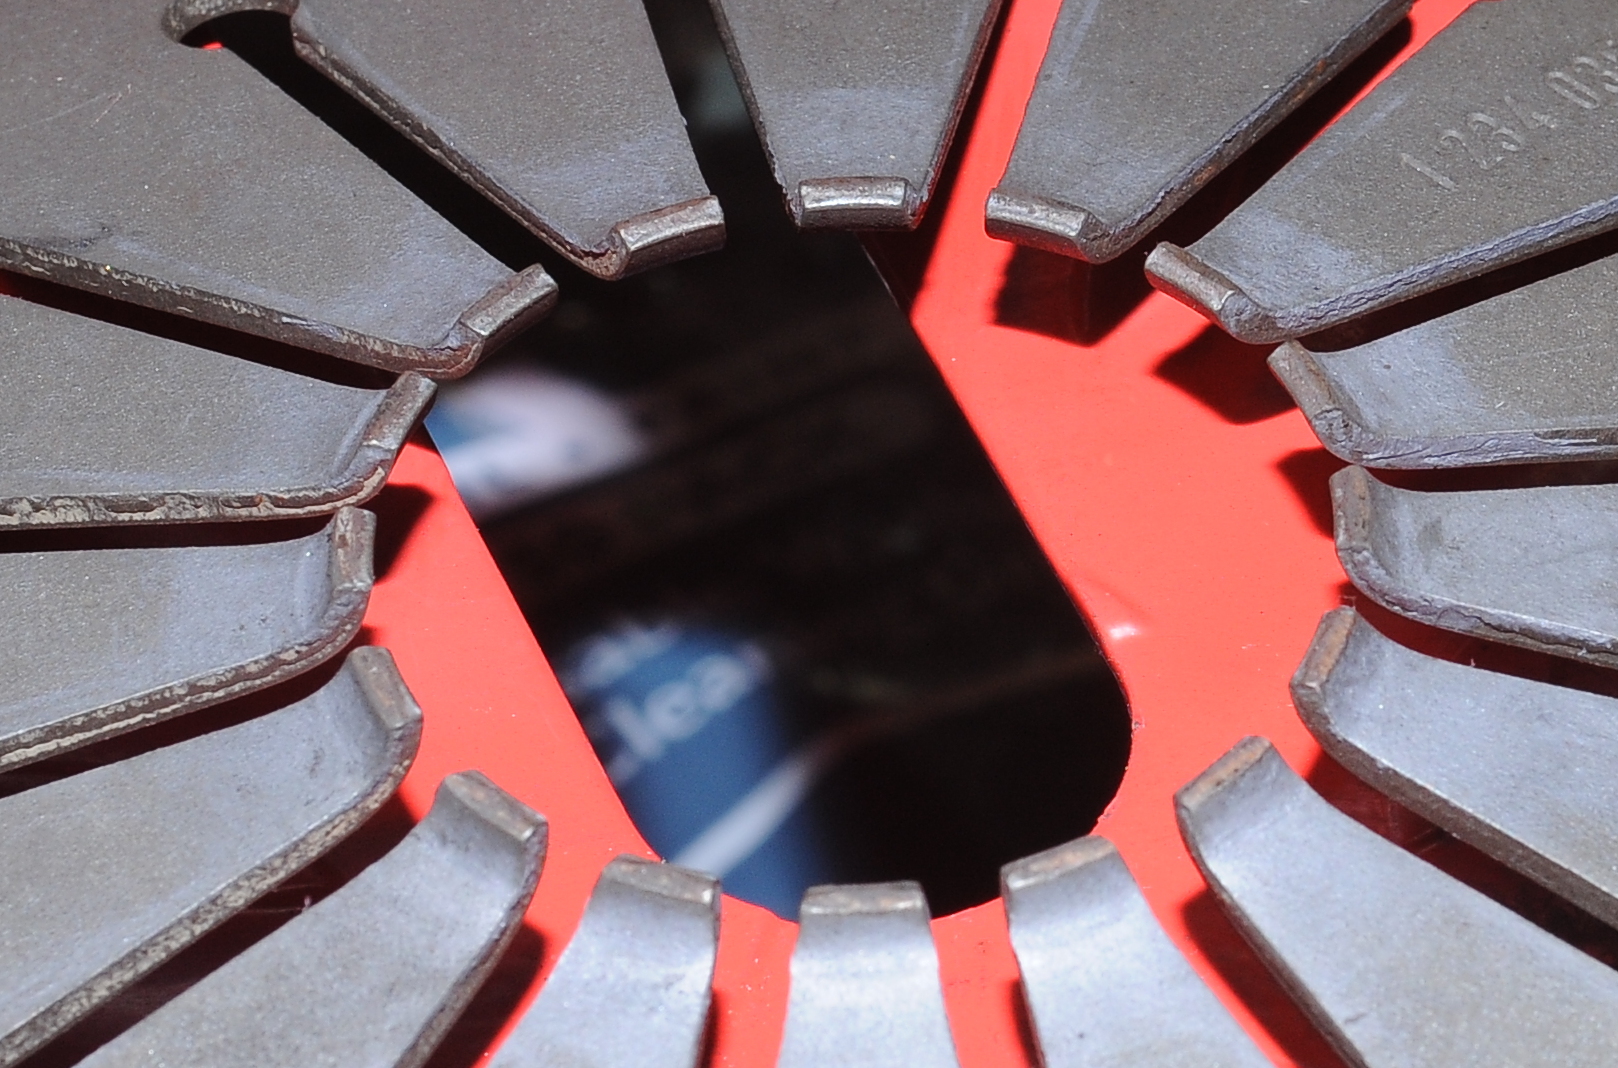
I could probably continue to use this clutch spring, there’s not a lot of wear, but the spring is relatively cheap to replace, and it’s probably been under tension for 40 years. In fact I could probably just order the friction plate. But since new OEM parts are available now, and they might not be in five years, I’ve ordered a kit from Bob’s BMW that includes all new parts. Once those are installed, the bike the bike should be good for another 75k miles, at least in terms of the clutch components.
The flywheel looks good, but there’s moisture which suggest that I also have a rear-main seal leak. So that’s going to be replaced as well. In this shot it’s easy to see how the timing inspection cover (next to the oil fill) lines up with the flywheel. When I get the flywheel off, I’ll repaint the timing marks to make them easier to see.
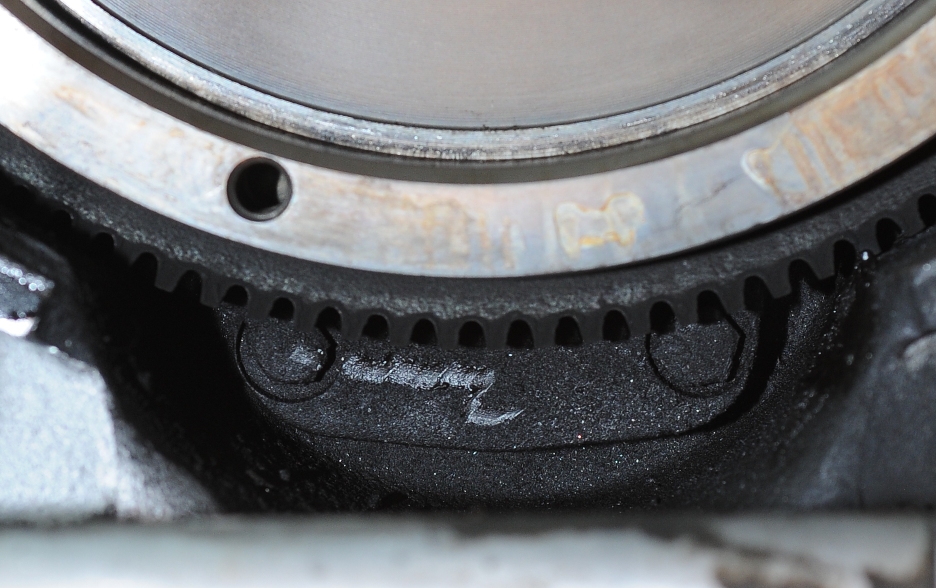
Good news, this bike has the newer oil pump cover with hex bolts instead of Phillips-head screws. I haven’t inspected all of the starter gear teeth yet — I’ll do that when I pull the flywheel — but so far they all look good.
Next step, pull the flywheel.