Pulling the carbs, airbox and transmission

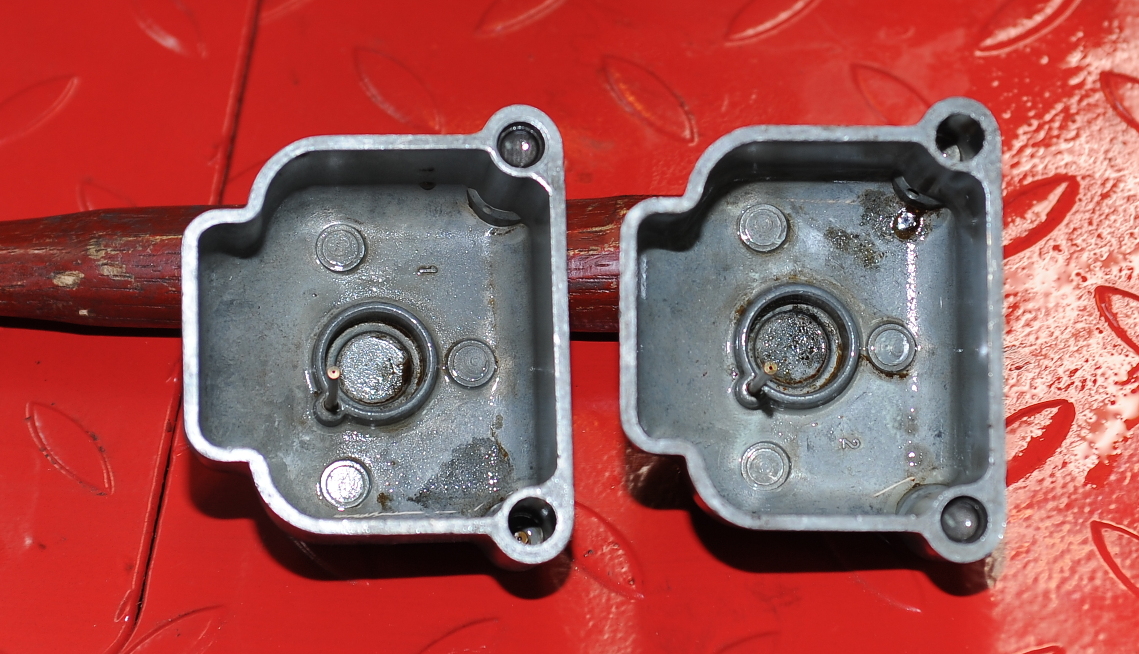
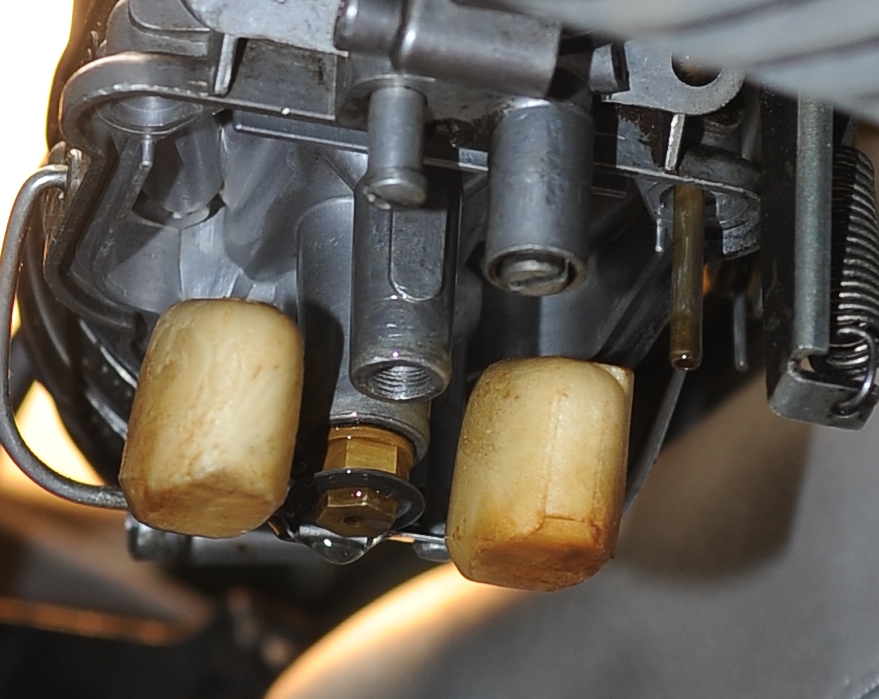
To pull the transmission, I have to first remove the carbs (or at least move them out of the way) and remove the airbox.  After seeing the crud floating around in the bowels and the discoloration on the floats I decided to drain the carbs and remove them.  I’ll rebuild them before putting them back on the bike.  As you can see, they aren’t super bad, but they do need cleaning.

The discolored floats probably indicate that the floats are heavier than the should be, so they’ll be replaced.

Now here’s a bit of German engineering (not!)  If you look at the airbox right cover, you’ll notice that the cover is held in place by a spring on the bottom, and a bolt on the bottom left corner.   It looks like you should be able to loosen the nut and slide the cover off.  But look at the crankcase ventilation hose, it runs through the case and against the starter cover, effectively preventing you from sliding the case off.  I had to completely remove the nut so that I could slide the cover back, and off the hose before I could remove it.   That turned out to be OK though as that’s one of the four bolts securing the transmission to the engine; I had to remove it anyway.

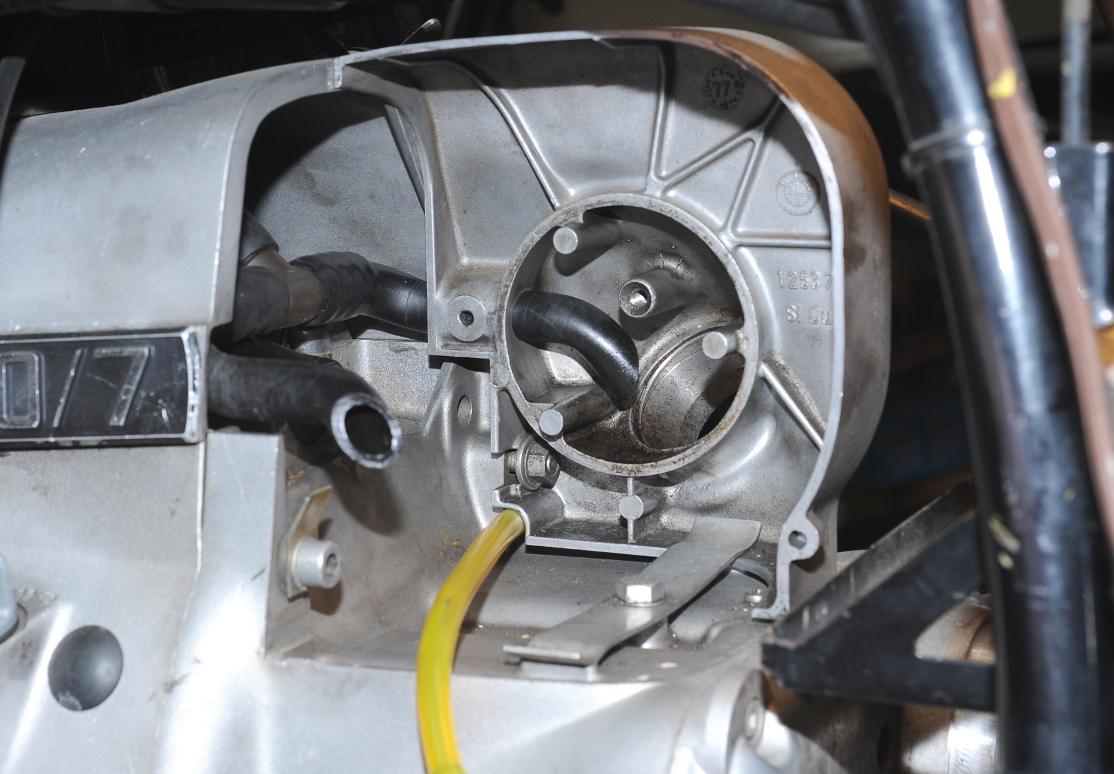
This is the clutch bearing and pushrod with the clutch lever and associated parts removed.

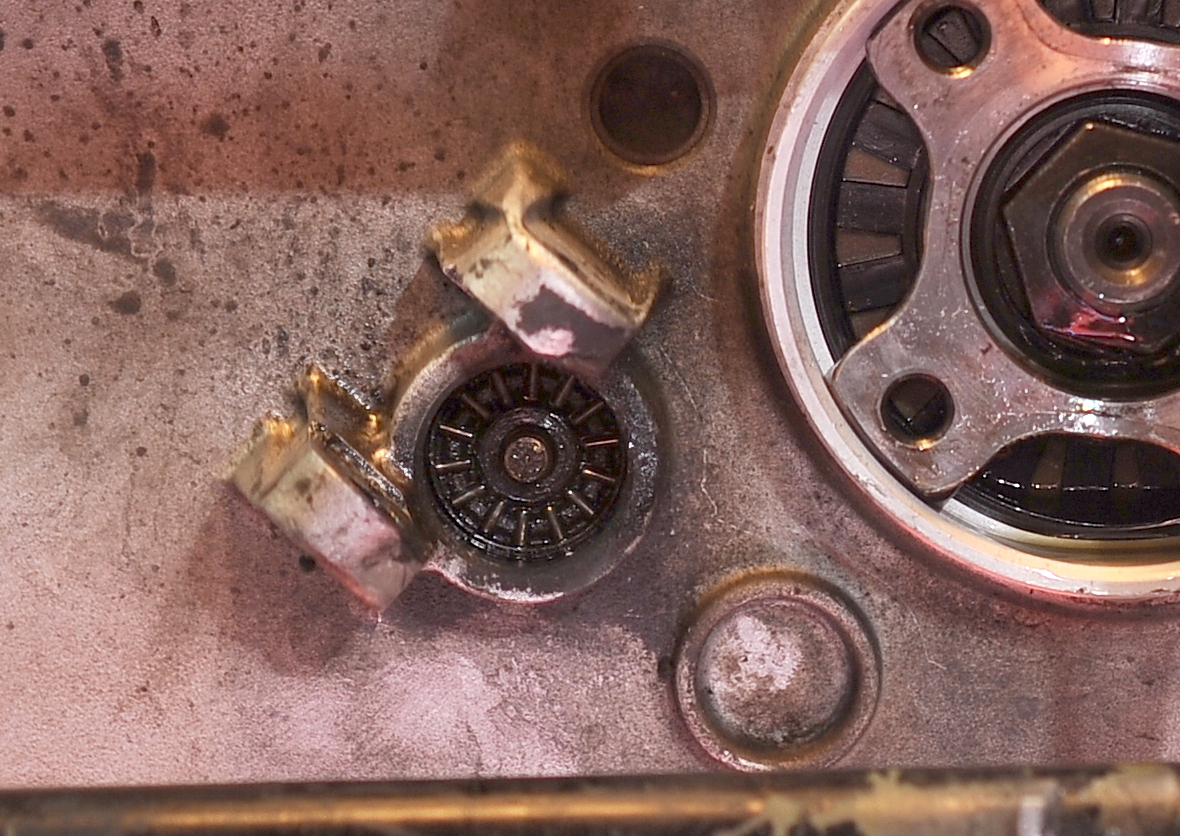
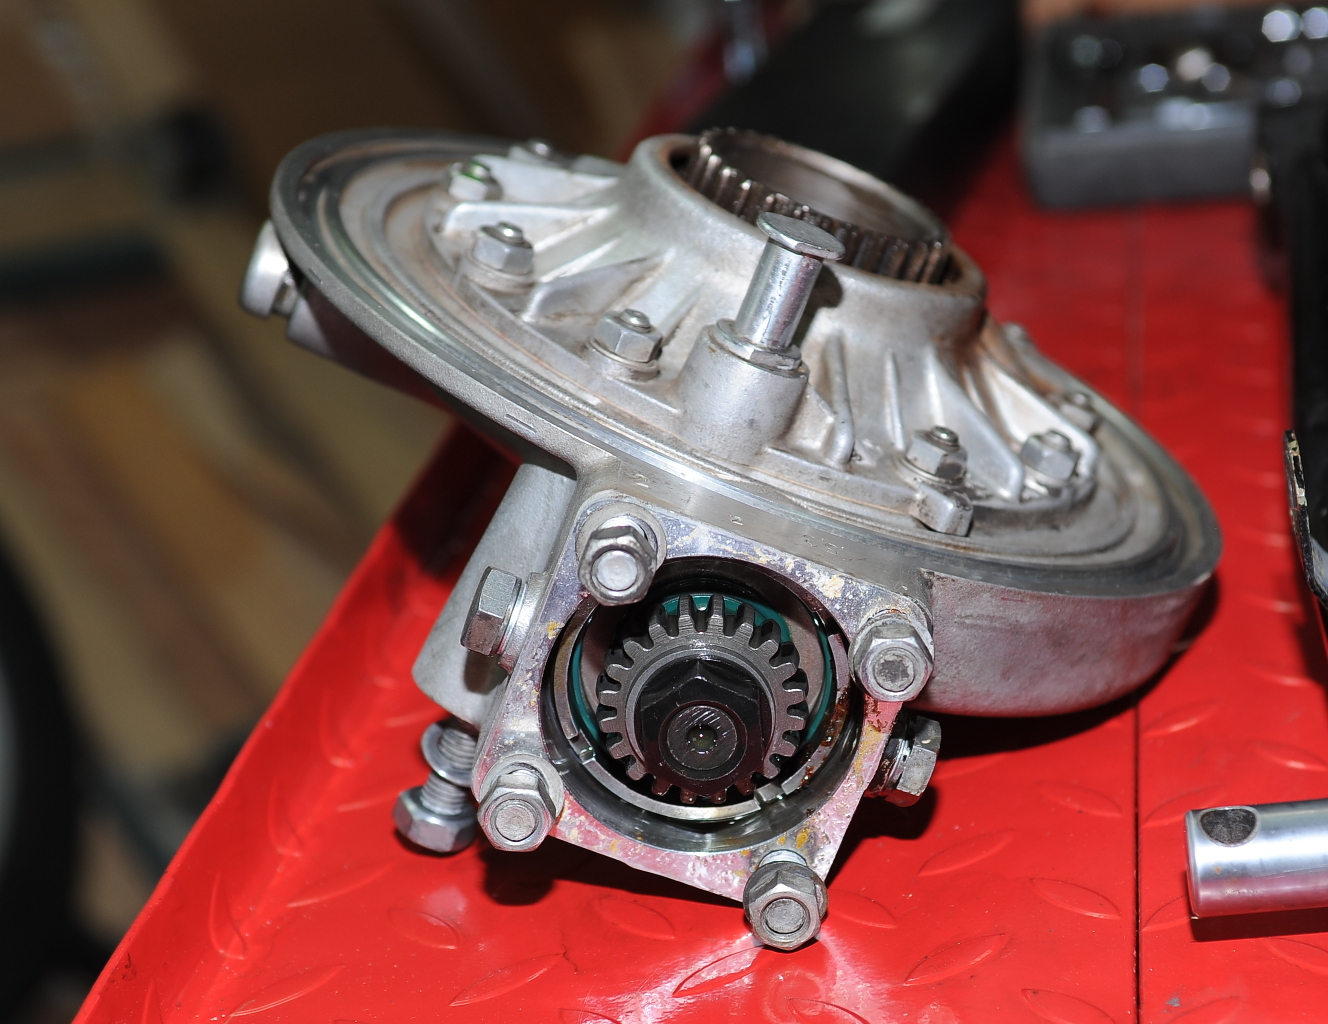
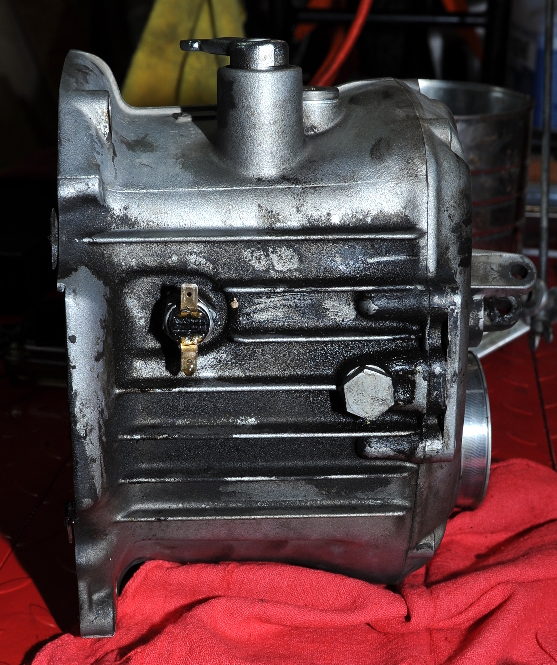
The transmission is only held to the engine with four easy-to-remove bolts.  It came out very easy, but only after I removed the top two nuts holding the battery tray, which allowed the battery tray to tilt back slightly giving me more room to slide the tranny out the left side of the bike.  Here it is.  It looks like the input shaft seal is leaking, so that will get replaced.

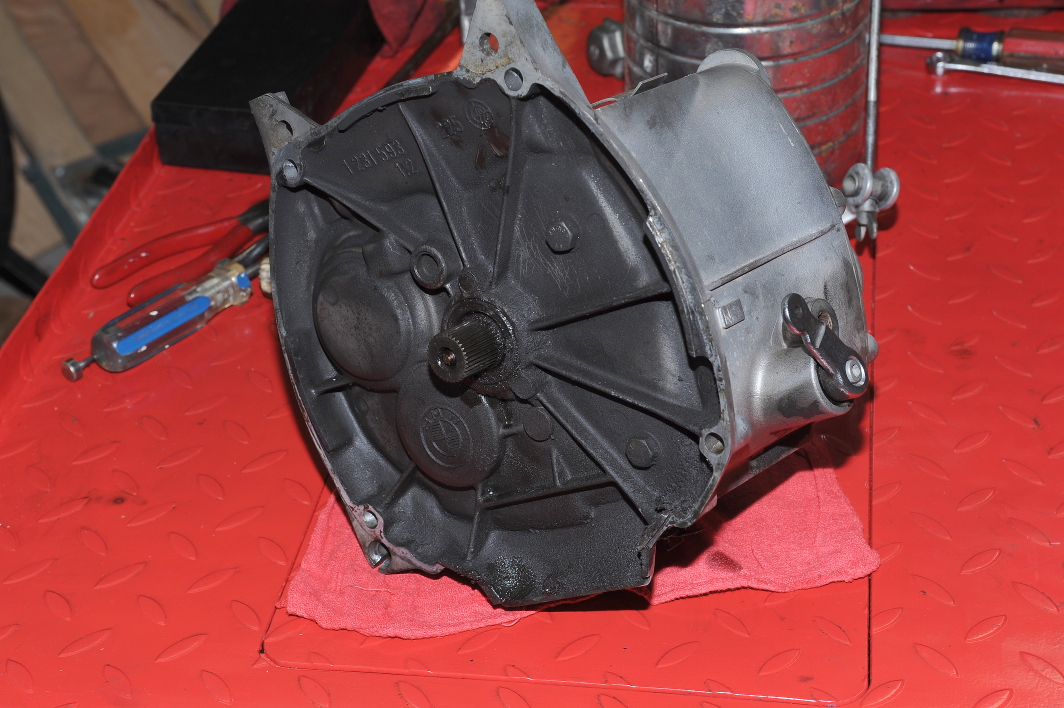
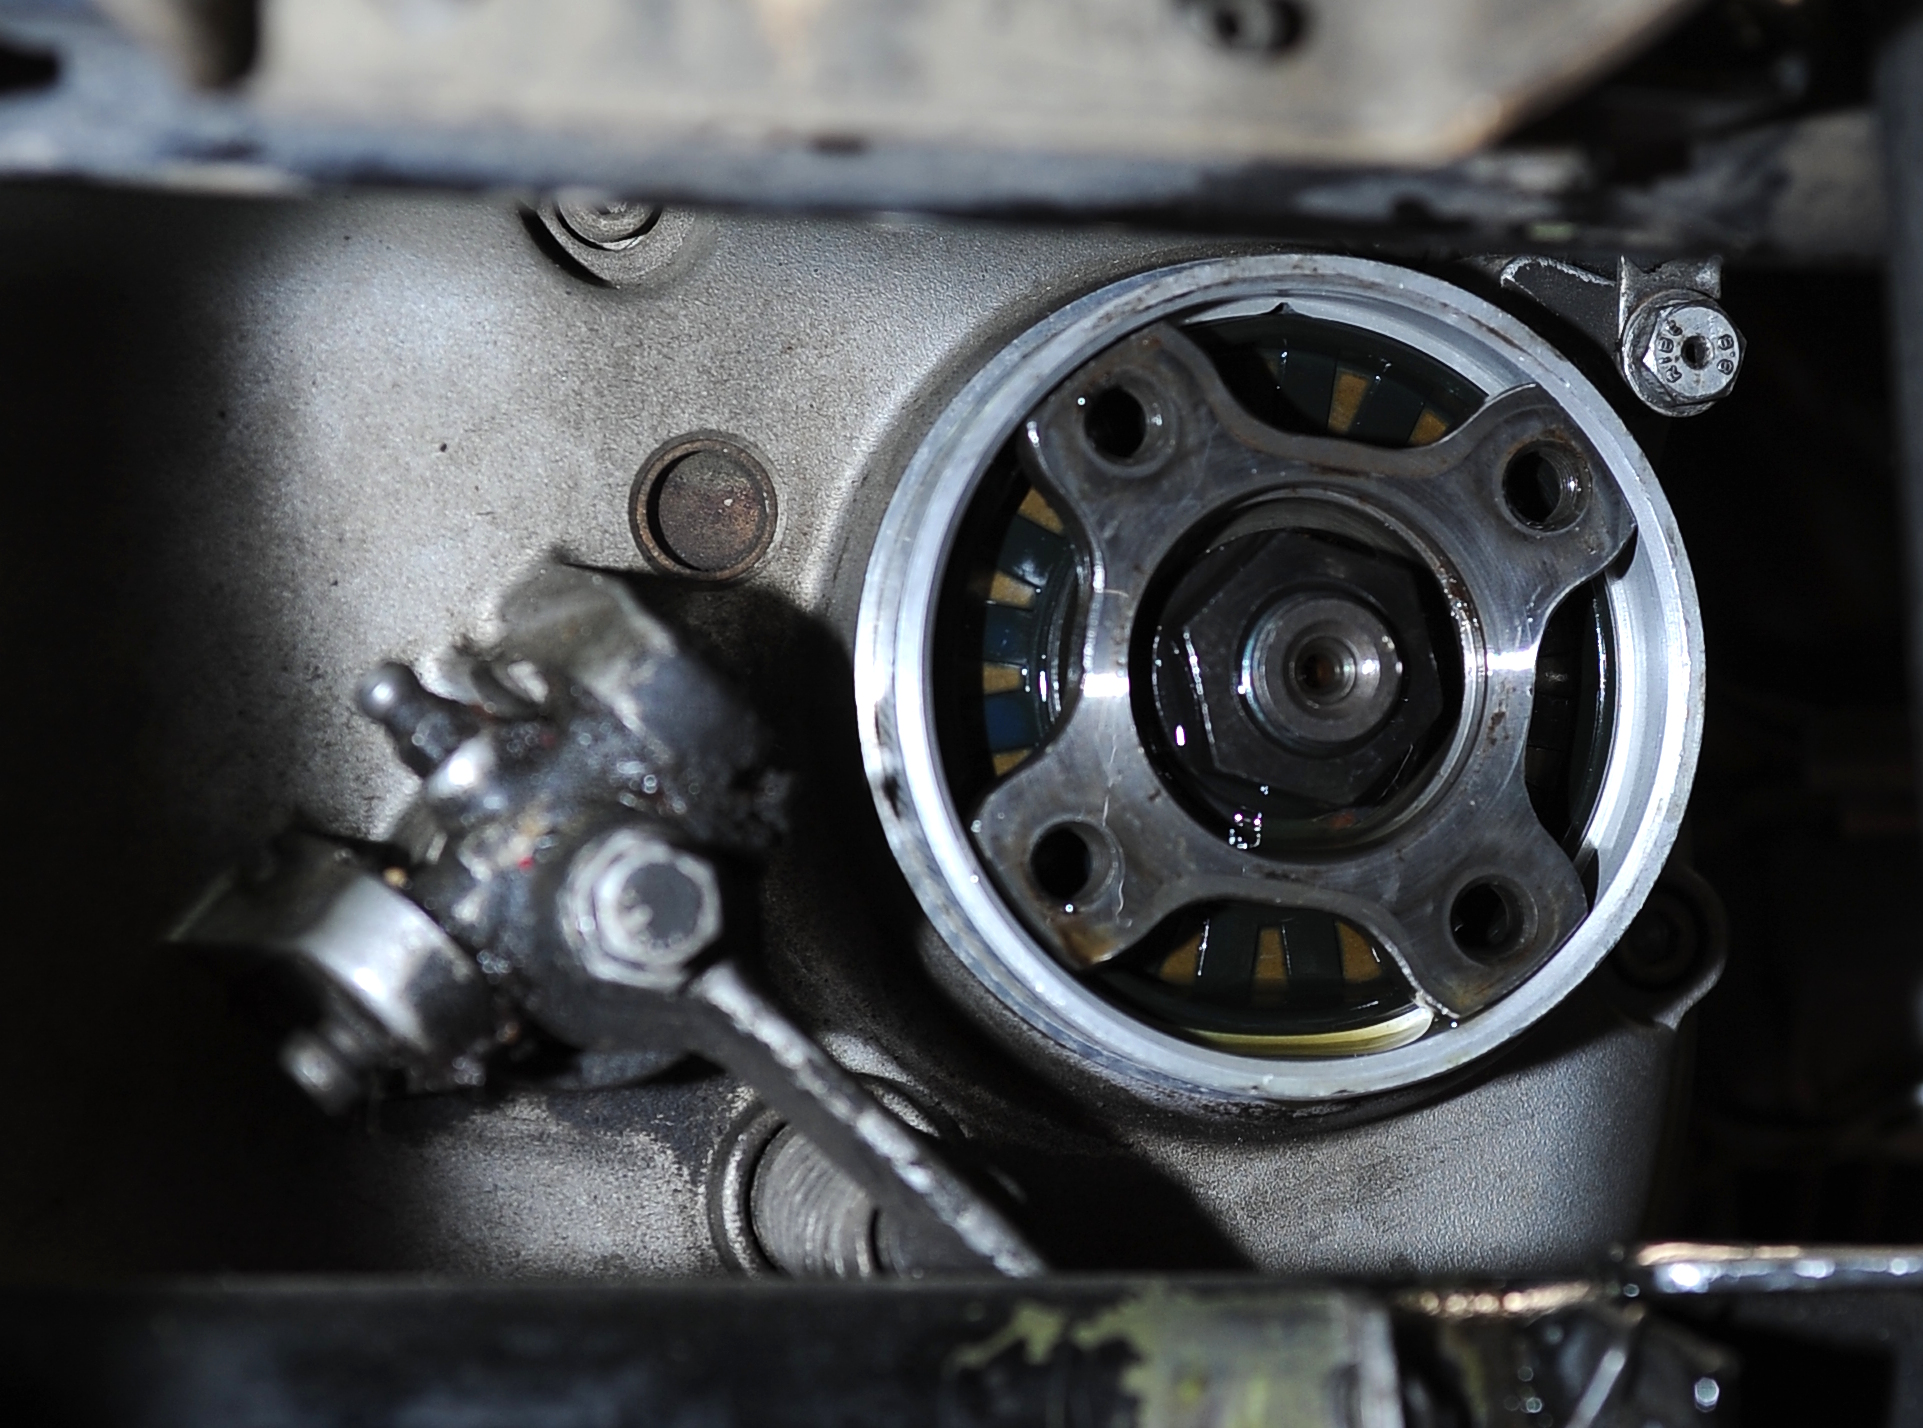
The bottom of the transmission is dirty, but looks to be in good shape.  Here it’s easy to see the leaky neutral switch.  Although, the dirt pattern suggests that the oil might also be from the leaky input shaft seal.

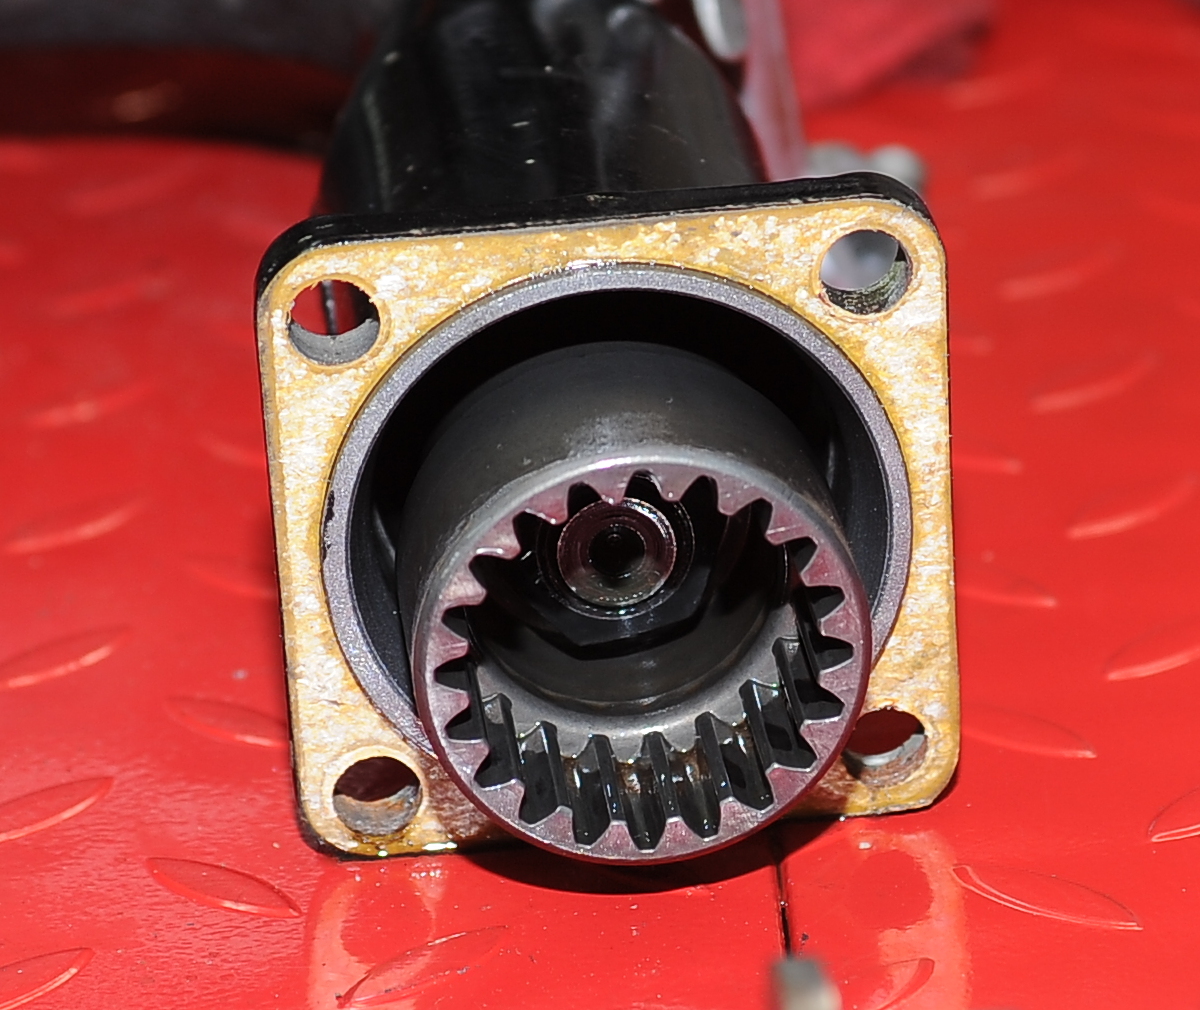
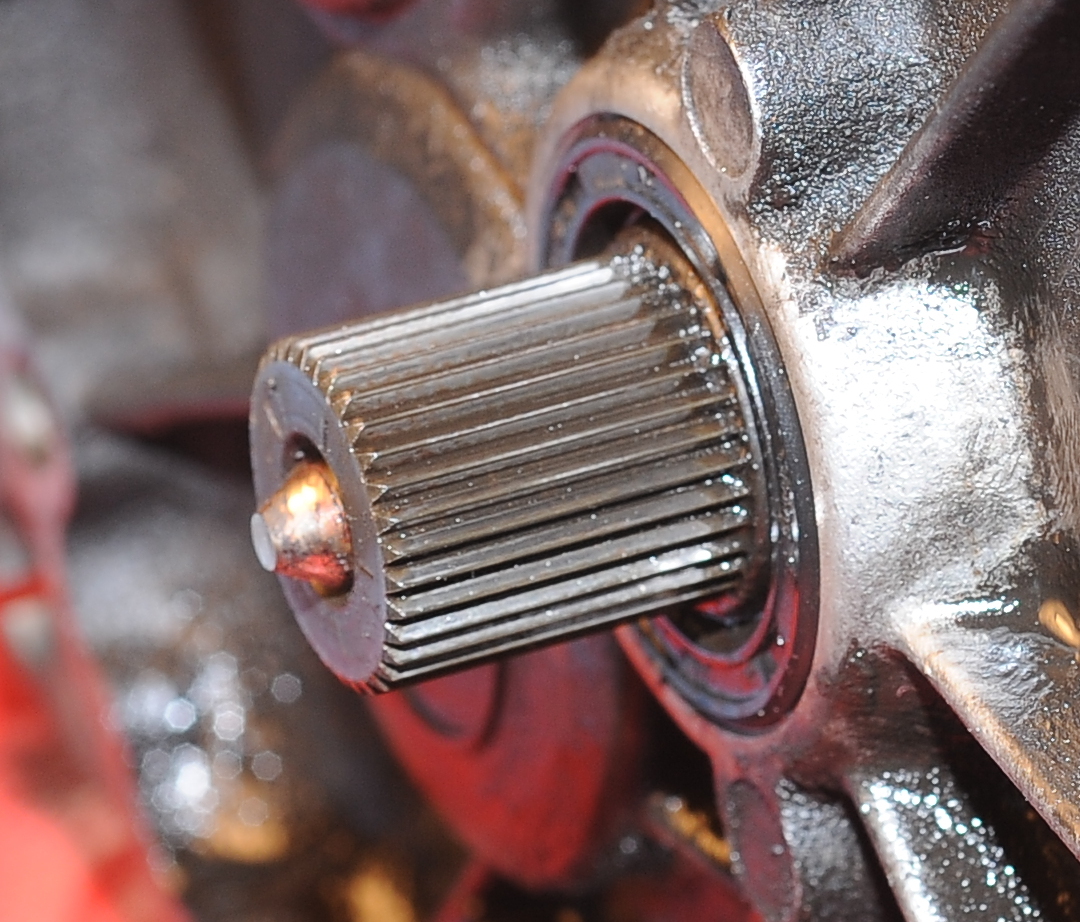
The really good news is that the input shaft splines are in very good condition.  Here they are after I cleaned them up a bit.  They don’t show any signs of wear or corrosion.  The tip of the clutch pushrod looks fine as well.

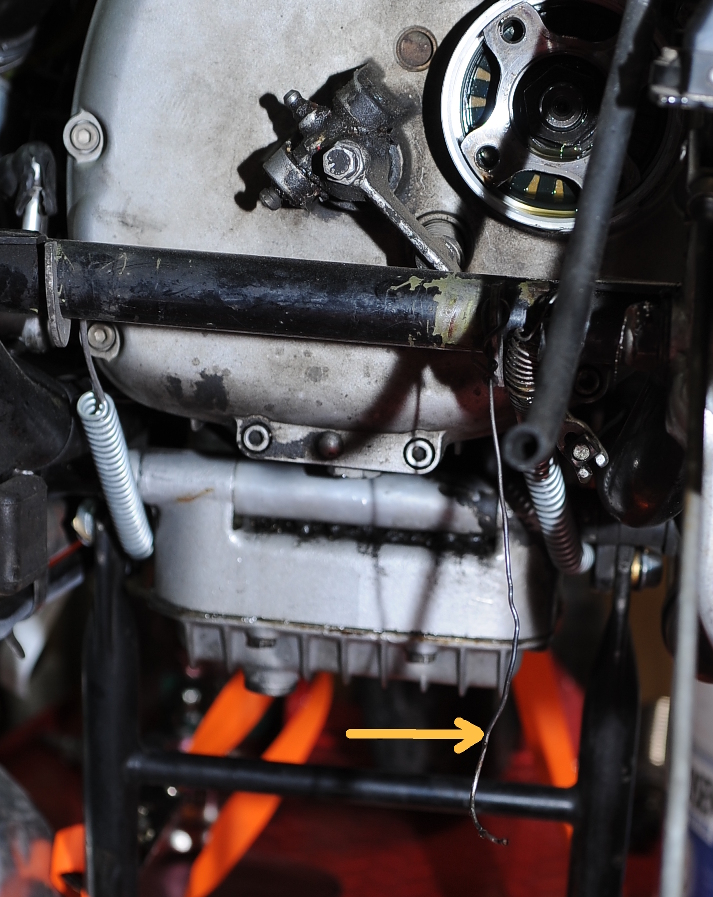
I won’t know the condition of the clutch until I pull it and I don’t yet have the tools I need to do that.  While dirty from clutch dust, there’s no evidence that the rear-main seal is leaking.  I’ll probably replace it anyway, since I’m pulling the clutch.  The arrow points to a loose washer I found at the bottom of the case.  It was lightly held in place by the grime.  In this picture you can see from the frame tag that the bike was built in March of 1978.  I couldn’t see that with the transmission in place.

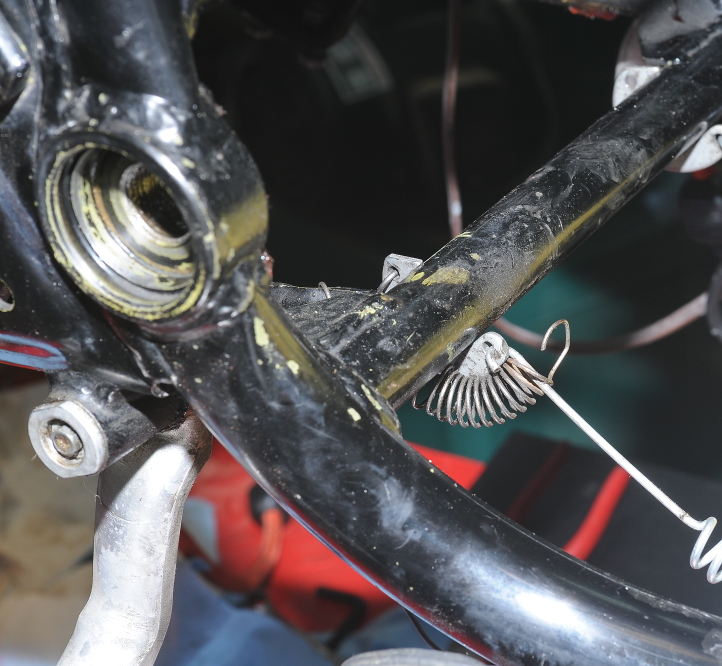
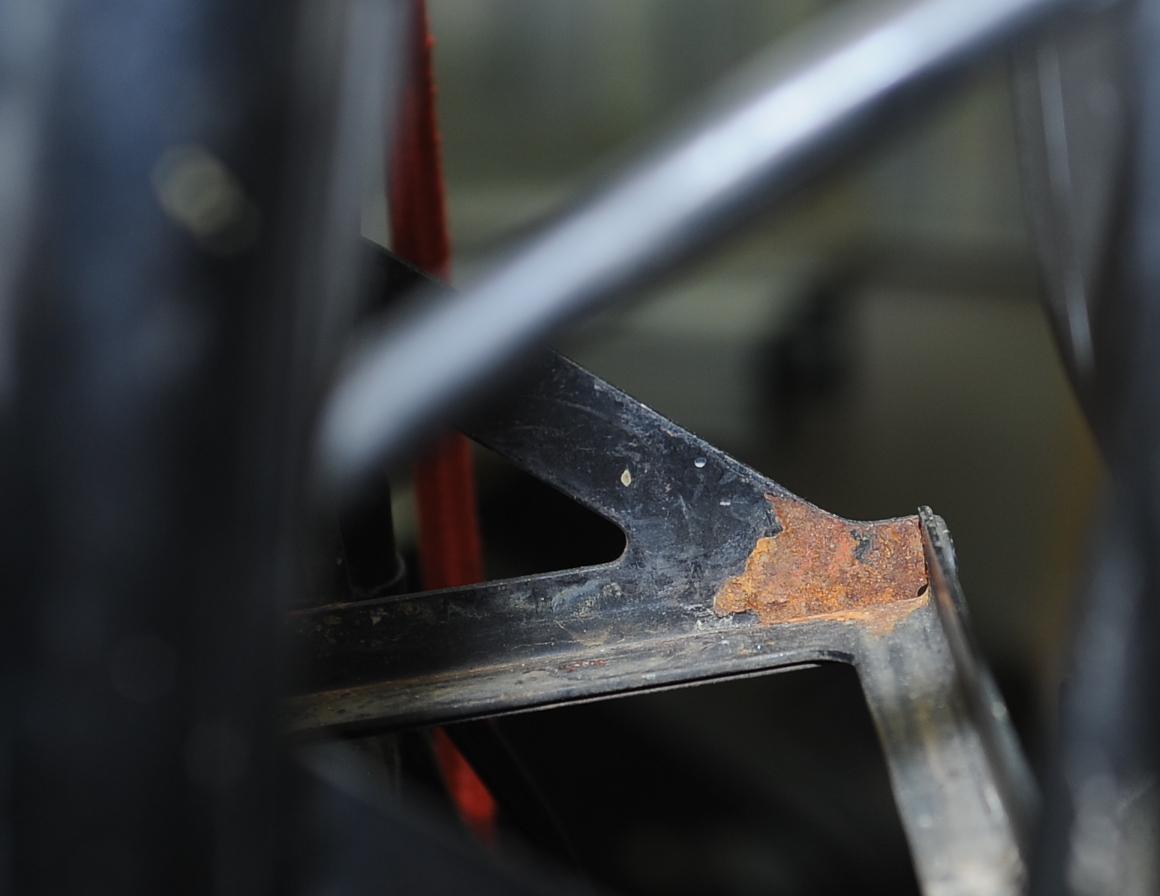
I found this interesting “mod” today.  It looks like someone added a spring to keep one of the center stand springs from rattling.  I’ve removed that mod for now, but have kept the spring in case I can’t figure out something better.

Pulling the rear brakes, final drive and swing arm

Today I pulled the swing arm.  It was pretty easy to do. Most of the effort went into cleaning the brake grime off of the final drive.  Here’s the before:

Now, here’s the final drive with the brake shoes removed, and after a bit of cleaning; recipe one part brake cleaner, five parts elbow grease.  I did this cleaning before removing the final drive because it was easy to put a pan underneath to catch the brake cleaner as it ran off.  I used an acid brush to scrub all of the nooks and crannies.

To pull the swing arm I had to do the following.

  1. Put the rear tire back on.
  2. Take the clamps off the drive boot and slide the boot back.  The clamps come in two parts, the part that goes around, and a very short piece that fits under the gap between the two ends.  I discovered this when the short piece fell out and I had know idea where it had come from, or even what it was.  I thought it fell out of the boot.
  3. While keeping the tire from rotating, Remove the four 12pt 10mm bolts securing the shaft to the transmission.  Rather than use the engine or the brakes, I just stuck a piece of wood between the spokes and let it push against the swing arm.  These are one-time use bolts, so I’ll have to order some new ones.
  4. Remove the rear tire and axle.
  5. Bungee the swing arm to keep it from falling and remove the shocks.
  6. Remove the final drive (don’t need to do this just to pull the swing arm)
  7. Remove the swing arm pivot bolt dust caps and remove the swing arm pivot bolts (had to grind down my 27mm socket before I could get the socket in far enough to get on the locking nuts).

At this point, I thought I’d be able to pull the swing arm out, but I was catching on something.  At first I thought it was the brake switch, then I discovered that  I had neglected to remove the bailing wire running between the swing arm and the center stand.  I don’t remember reading about that step!  I’m guessing someone put it there when the were reinstalling the swing arm.

Here’s the rear brake pedal and switch.  I’m not sure what the hose is.  It seems to run up under the gas tank.    Water drain?   Here you can see the bailing wire attached to the center stand, and the extra backing nuts on the bolts that hold the muffler.

Anyway,  getting back to the swing arm,  as you can see in the next three pictures, everything looks really good.

Here’s the transmission output.   It looks pretty good too, but the clutch lever is pretty dirty.  Probably from greasing, but possibly from a input or rear-main shaft seal.  Oil could be following the clutch push rod.  We’ll know as soon as I pull the transmission.

I did notice one other task that I need to add to the list.  There’s a bit of rust on the battery tray.  Also, while the rubber supporting the battery tray isn’t cracked, is is pretty hard.  So, when I pull the tray to repaint, I may also replace that rubber if it’s not too expensive.

Next step, pull the transmission.